“Choose Your Grain” Pancakes
By Sheila Dobson, BA, NC
These pancakes can be made with many different grains and even with a combination of grains/legumes, such as rice and lentils. They are made with the whole grain, not a flour. When you soak, then sprout, then ferment a grain, it becomes much more digestible and the gluten content (if it is made with a gluten grain) is lowered. Also, grains that are stored in their whole, unground state tend to retain nutrients better over longer storage times than when the grain is first ground.
I have made these pancakes with millet, buckwheat, and also a lentil and rice combination. I have not made them with oat groats or gluten grains. If you are using these types of grains you may need to do more adjusting to get a good result, since I’ve tuned the recipe to the grains I use.
Ingredients and Procedure
1 c. grain (buckwheat, millet, oat groats – not rolled oats — etc. — it must be sproutable)
1 qt or so, filtered or spring water
Step 1: rinse the grain under running water, and then place in a bowl with spring or purified water to cover by about 2.5 cm or 1 inch above the level of the grains
Cover with a cloth or piece of wax paper. Air should be able to circulate to the water. Let sit overnight, or at least 6-8 hours
Step 2: Rinse grains and let sit another 24 hours (roughly); this time you will sprout them. To do this, you drain away the water and spread them in a shallow pan or bowl. You want them to be no more than about 1 inch in height in the vessel you sprout them in, so that air can get to the grains. Another way to do this is use a sprouting jar (usually just a 1 qt jar), so that the lid of the jar, which is effectively a screen to keep the grains in the jar, is holding the grains in place, while the jar is inverted and sitting in a bowl. The bowl is needed to catch water that is going to drain out of the sprouts because you need to rinse them periodically. Another way to do the sprouting is to put the grains in a strainer and rest the strainer in a bowl.
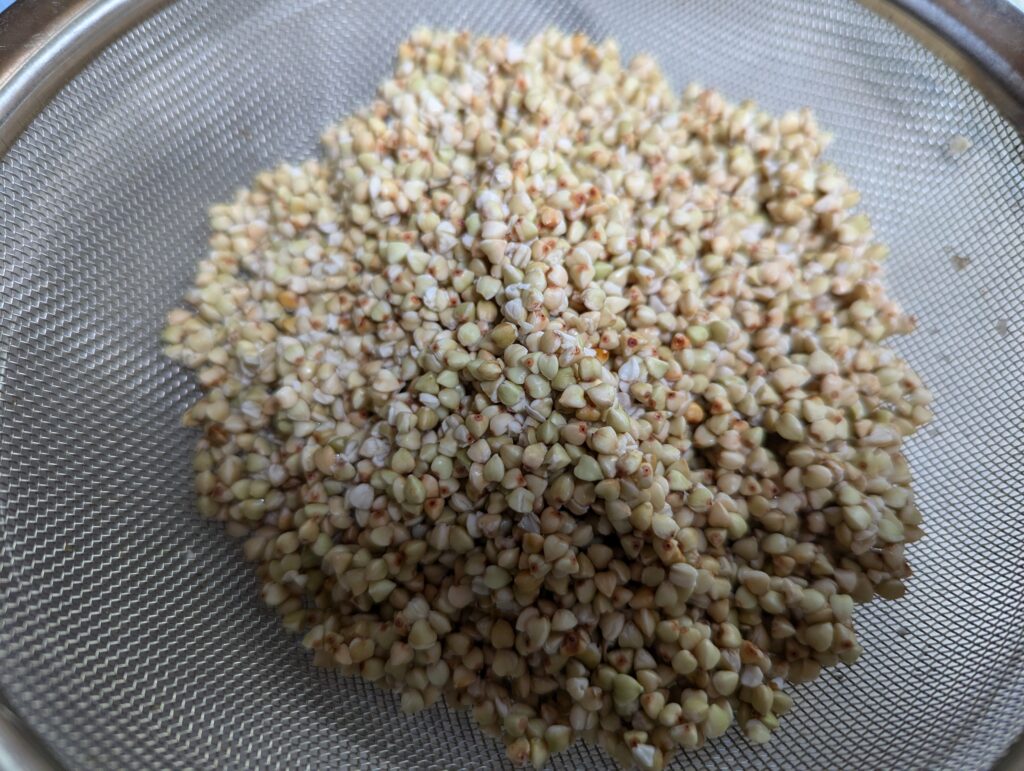
Step 3: Rinse your grains 2-5 times during the day while they are sprouting. Ideally use good water but tap water is okay.
Step 4: After about a day of sprouting, you have grains with little tails. Now you will drain, rinse, drain again, and you are ready to use these to make a batter. Put the grains in a food processor or blender and blend to make a batter. You may need to add a few tablespoons of water. Don’t use any more water than necessary to get the blending to happen.
Step 5: Ferment this slurry or batter for about 12-24 hours. To do this, you let it sit at room temperature (65 to 85 degrees – it ferments faster the warmer it is), again, covered with a cloth or waxed paper, but be sure air can flow over the top of the mixture.
If you wish you can add a little bit of ‘seed’ or ‘starter’ to help fermentation. For that I usually use a yogurt starter which is a powder of beneficial microorganisms, and I only use a tiny bit — like 1/16 teaspoon. The one I use is the one approved for making high quality yogurt for the GAPS diet. You can really use most commercial starters for yogurt, or you can use some kefir or yogurt or whey. You can even use some probiotics, but there are also some probiotics also that are not appropriate. I can’t cover which ones are okay in this article, but if you try it that way, consider it experimental and, just don’t use the kind of probiotic that contains fungal organisms like saccharomyces boullardi.
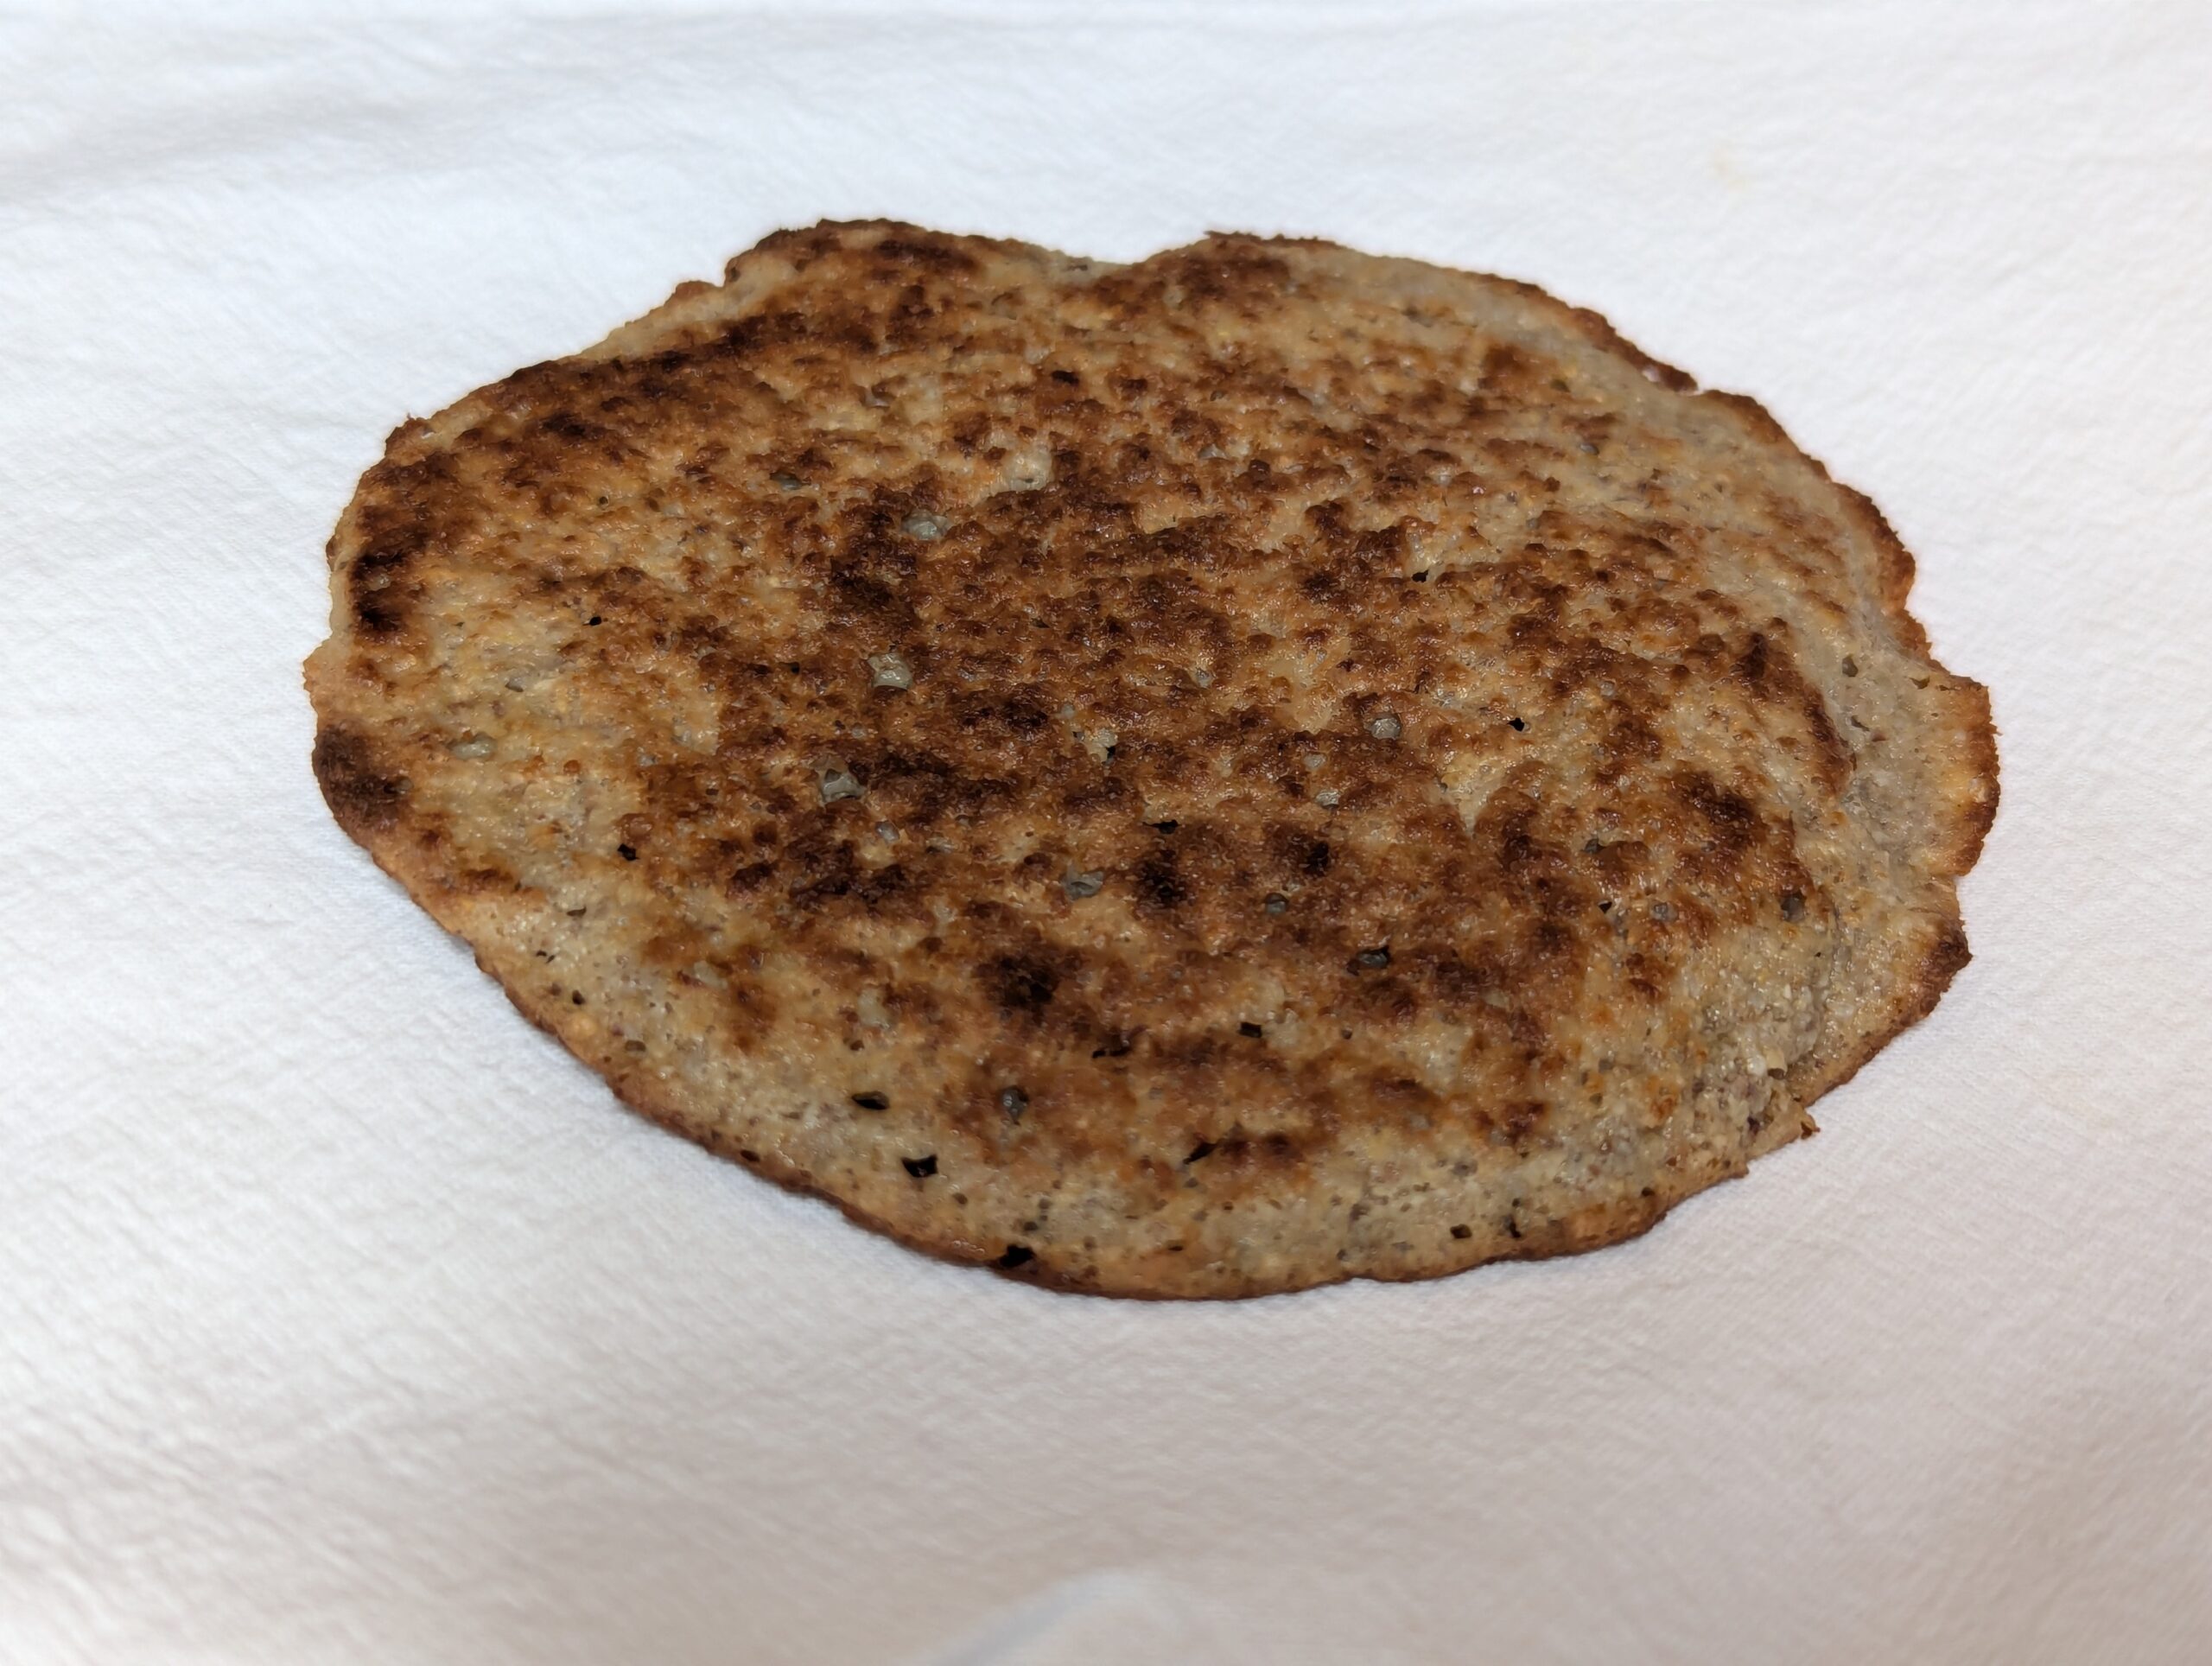
Step 6: Now you are almost ready to fry your pancakes. Your batter should be filled with little air bubbles; essentially is has “risen” due to the fermentation process. It needs to be handled gently so as not to break all the little bubbles since these make a lighter textured pancake.
Gather these ingredients – some are optional and technically you could almost use just your batter in many cases, without other ingredients, and get a passable result, however, most non-gluten grains will not hold together well so ideally you will need some egg or ground flax seed at least, to help the batter stick together; also the flavor can be enhanced a bit; but these are mostly embellishments and you could experiment with something a bit simpler if you wish.
2 eggs
1 T. to 1/4 c. milk or non-dairy milk such as coconut or almond or hemp
1 t. vanilla extract or cinnamon (optional) – other options are 1/4 t. ground rosemary plus 1/4 t. onion powder
1/4 to 1/2 t. salt
1/2 t. baking soda
2 T. maple syrup or 1-2 T. coconut sugar (optional, omit if sensitive to sweets)
1 T. oil
2-4 T. ground flax seed
Step 7: Mix together the egg and 1 or 2 T. milk or milk substitute, whisking thoroughly, then add to this all the other ingredients except the ground flax seed and mix thoroughly.
Step 8: Mix the ground flax seed into the grain batter, stirring very gently and not too thoroughly, so as not to disturb it too much, then gradually add the liquid mixture of egg and other ingredients, mixing lightly and as thoroughly as you can without overdoing it.
Step 9: Let it rest a bit – anywhere from 10 to 30 minutes.
Step 10: Heat your pan on the stove to about a medium heat, and using coconut oil or an oil good for higher heats such as avocodo or grape seed, fry 1/4 cup portions of the batter. Fry until you see firming of the batter and bubbles opening on the top of the pancakes, and then flip. When you remove them from the pan, let cool a bit on paper towels. Store them in the refrigerator as the flax seed, once ground is high in certain fats that are not very stable.
Notes: This is a forgiving recipe; you can alter it in various ways and it will still work. The pancakes made with lentils and rice are made in roughly the same fashion but they are simpler and you are using both ingredients not just one grain. These are not hard to find descriptions of online, as they are a traditional Indian food called either “dosas” or “idli.”
Finally, remember that the reasons for soaking, sprouting and fermenting are many. These are covered in the diet article on this website – “Healing Diet Guidelines” – at the following link: https://ahavahealth.com/healing-diet-guidelines-2/.
I would like to hear about your experiences following the above instructions so that I can fine tune them for others to have the best experiences!